My Top 5 Tips for Cracking Jump Through Transitions

In this video I demonstrate a few variations of the jump through and jump back transitions

I remember my first Ashtanga class vividly....particularly the point at which the teacher, Nick, instructed everyone to 'lift up and jump back'. 

Try as I might I couldn't get my sit bones more than a fraction of an inch off the floor and there was absolutely no way that my legs were going to get through my arms. 

Thankfully Nick was a good teacher, and over the next weeks he explained the mechanics and principles behind this seemingly impossible movement...and with practice it came over time.

In the years since that initial encounter, I've picked up many tips, techniques and practices that can help to develop the strength and control to 'lift up and jump back' or to float from down dog through to a seated position.

Below I've distilled these down to my Top 5 Tips for cracking the jump through code - I hope you'll find them helpful.

1. Strong hands, mobile wrists

When taking jump through and jump back movements we need to ensure we have a really strong foundation in our hands...if it’s weak, then that weakness will carry through the entire kinetic chain, making the movements impossible.

hasta

‘Hasta bandha’ or the cambered hand position creates a strong foundation through the hands

So the harder we press down into the floor, the better  - that connection down into the floor then creates the ‘rebound energy’ needed to lift and support the weight of the body with the hands.

(I wrote about settling hand positions for hand balances in my Top 5 Tips for Mastering Hand Balances - the same principles apply)

The other thing that we need to be conscious of is that, because we need to bring the shoulders forward of the hands and wrists (with the arms fully extended), jump back and jump forward transitions require a LOT of wrist extension.

So if you don’t currently have that range of motion in the wrists then you’ll need to spend some time developing it before attempting these transitions. The easiest way to do this is to replicate the jump through hand and shoulder set up but with the weight of the body supported by the floor.

From all fours, with arms extended, shift the weight forward to bring your shoulders forward of your wrists (squeezing the mat with your fingertips)…you can build up over time to increase the range of the movement.

Also make sure that you spend a few minutes mobilising the wrists first (at minimum circling them with bunched fists, and then flexing and extending them with flat palms and fingers extended).

2. Make your arms longer

cat stretch

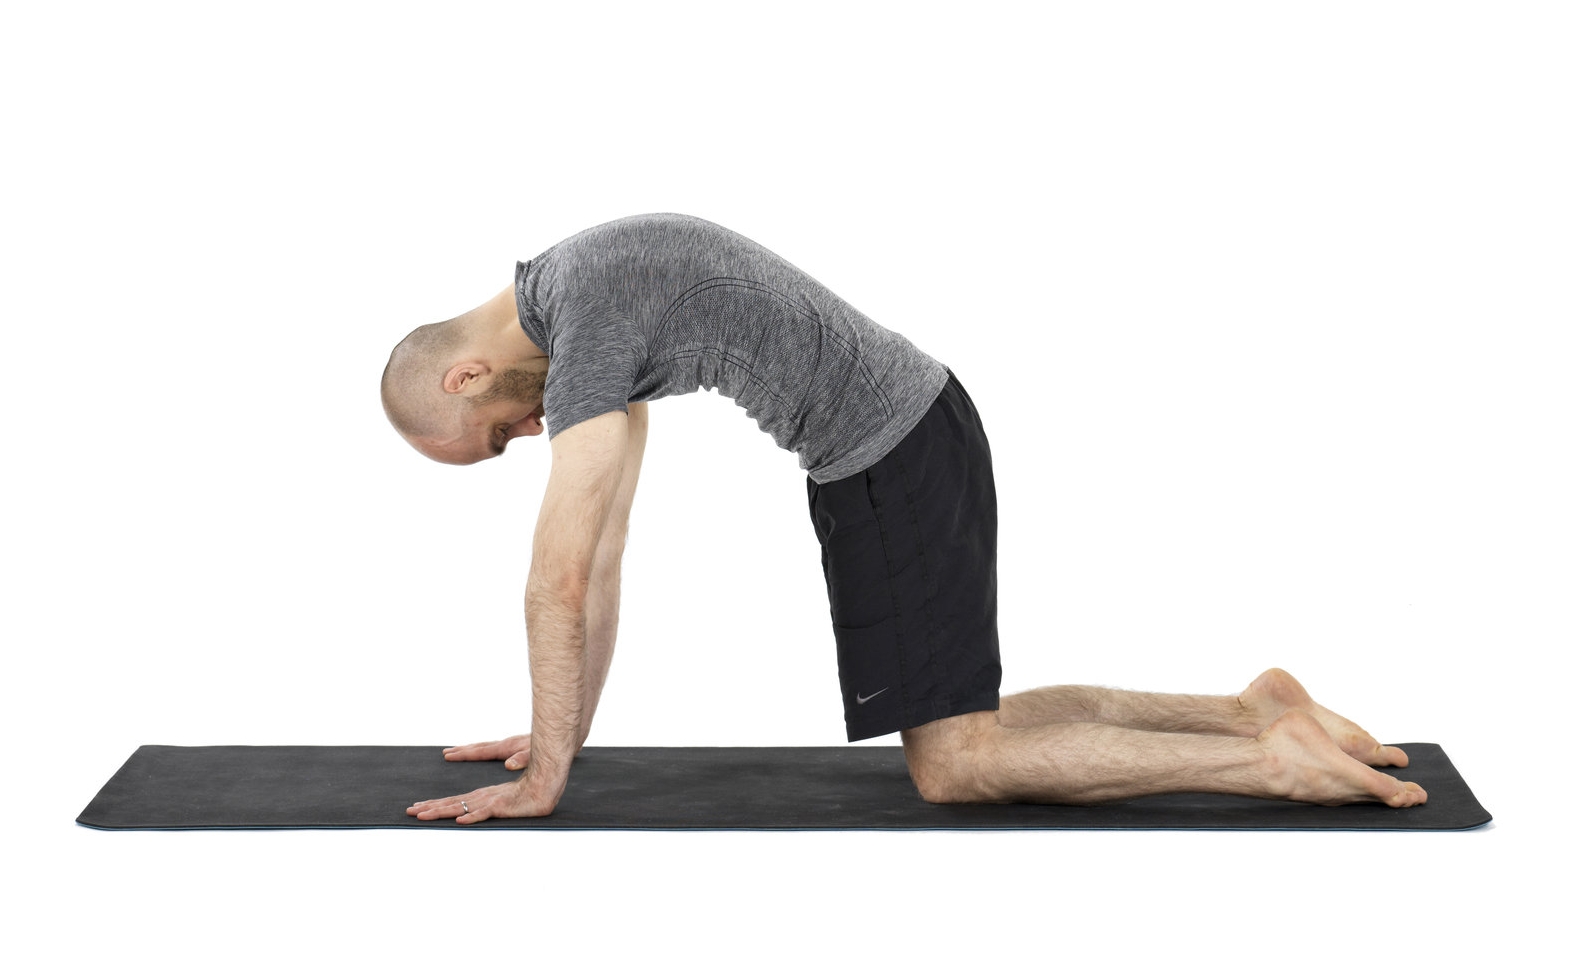
Cat stretch helps us to develop shoulder blade protraction and spinal flexion

I know…that sounds impossible! But by flexing (or ‘rounding’) our spine and drawing our shoulder blades forward and around the sides of our rib cage - just as we do in cat stretch and bakasana - we’re able to make our arms ‘functionally longer’.

So imagine that your arms start not from your shoulders, but from the centre of your chest - by reaching as far forward as possible you will add a few valuable inches to your reach.

When applied to jump backs and jump throughs these extra inches create the space we need to ‘get all the way through’ - but in order to make use of that space we need to apply our next two principles...

3. Compression + Core

Let’s be honest - even when we’ve made our arms ‘longer’ there’s still not much space to squeeze through.

So we need to make the rest of our body as small as possible by tucking into as tight a ball as we can manage.

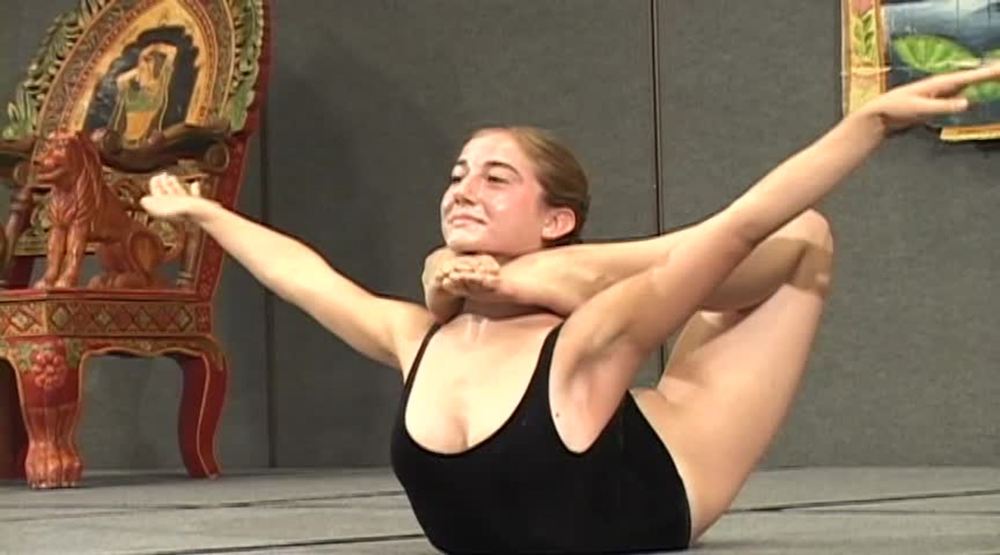
Actively ‘compressing’ the thighs and abdomen together and squeezing the heels towards our sitbones will help us to keep the feet lifted. Poses such as Navasana (with bent knees and shins crossed to replicate the ‘jump through’ position) will help us to develop the compression strength we need.

4. Tuck in tight

bent knee navasana

Bent knee Navasana develops hip flexor and compression strength

We also need to work on our hip mobility - not only is a deep cross legged forward fold required, but we also need enough strength in our hip flexors to keep the legs drawn into the body without the use of hands or gravity.

Squats and cross legged forward folds will help to develop the range of motion we need, and again poses such as bent knee Navasana will develop hip flexor strength.

There are also more specific applied practices and drills for the jump back / through. I explore all of these in my ‘cracking the jump through code’ workshops (check here for the next date).

5. Send your hips high

Often I see people trying to take the jump through with a very flat trajectory - which means that their feet hit the mat way before they’ve reached their hands.

Instead, rather than jumping forward, jump up and ‘swing’ through. David Swenson uses the analogy of a skateboard ramp - we need to get to the top of the ramp in order to generate the momentum and trajectory required.

sukhasana cross legged forward fold

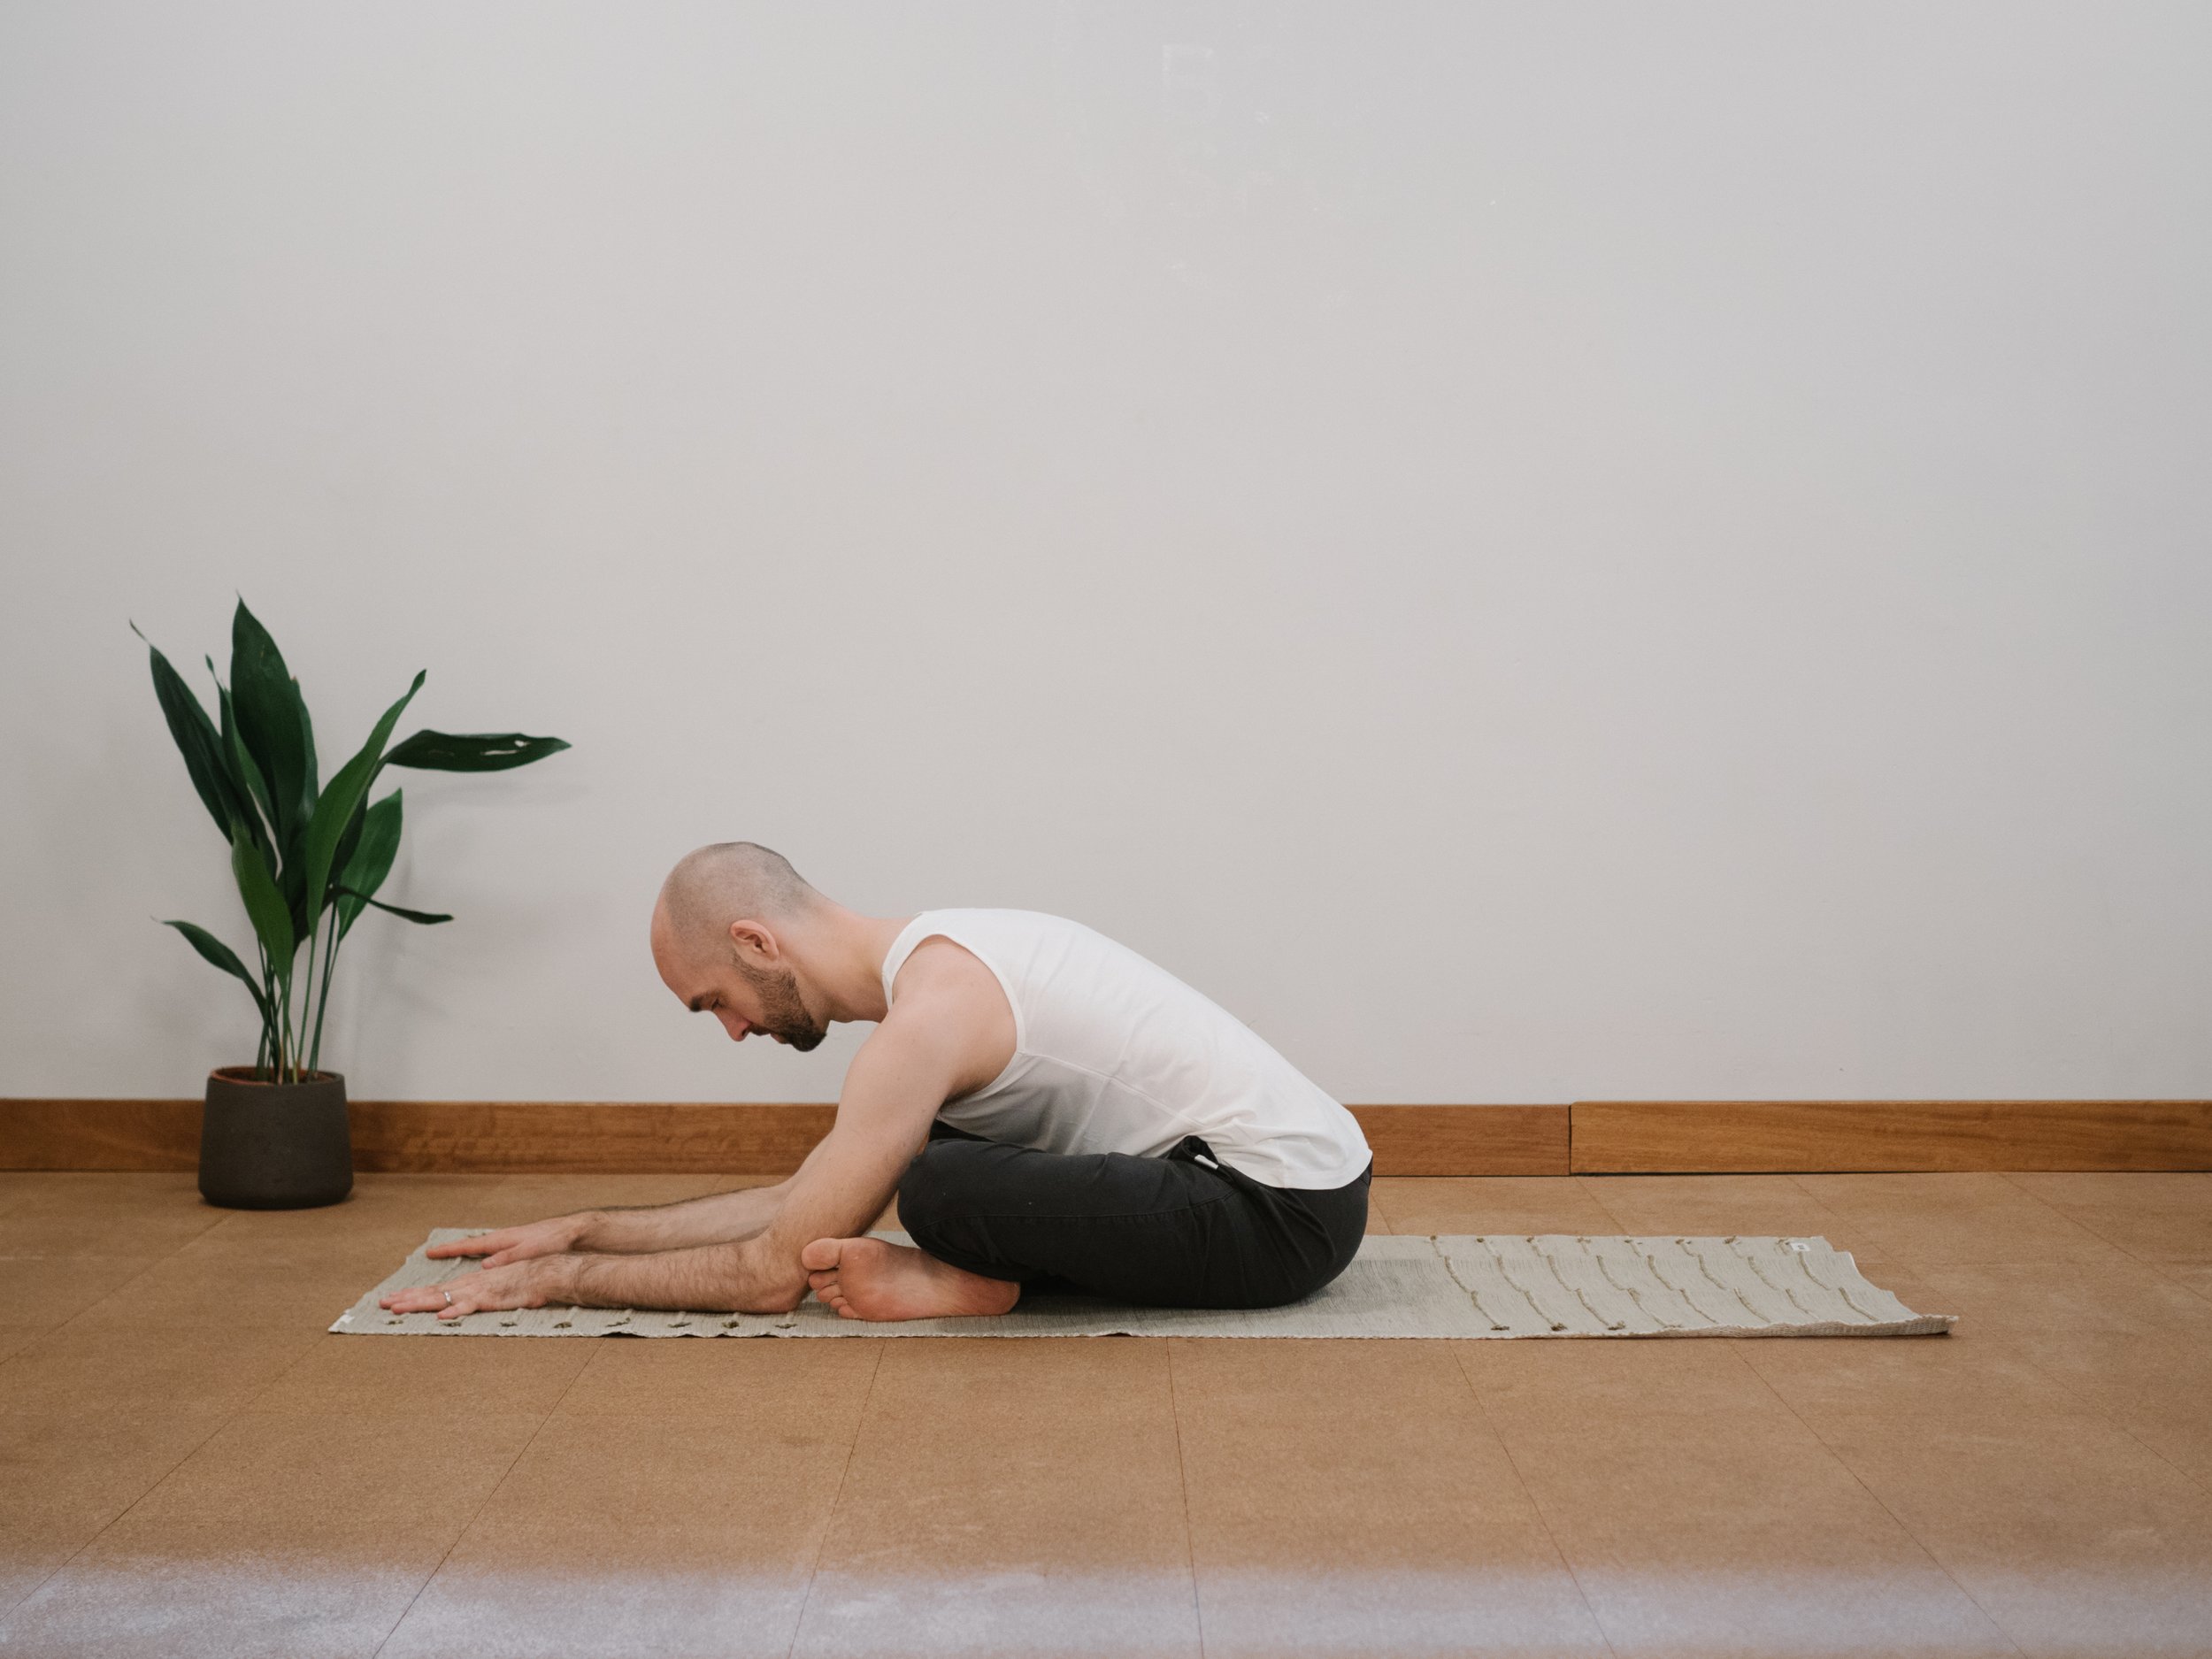
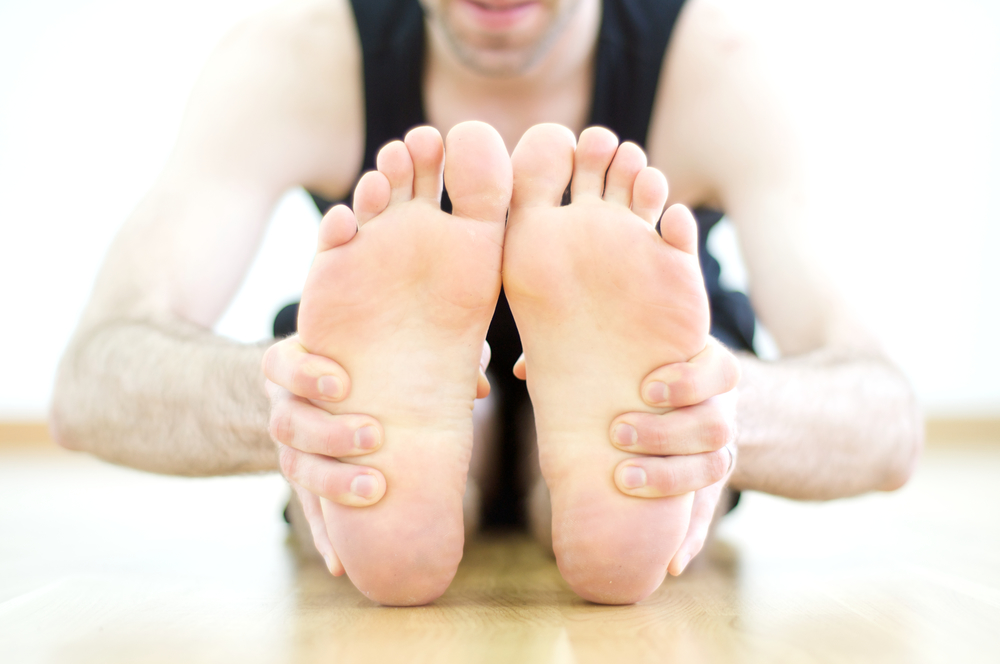
Sukhasana (cross legged forward fold) helps to develop hip mobility

And rather than thinking about your seated position as the end point in the movement (the ‘bottom of the skate ramp’), think about making it back up to the top edge, on the opposite side.

Keep Practising...

So there you have my Top 5 Tips to cracking the jump through code…

We also need to exercise patience (a LOT of patience) and be prepared to spend time working on foundational postures that help us to build towards these challenging movements.

This will help us to approach our exploration with confidence - progressively building strength and technique over time.

So do spend time mobilising the wrists, spend time in cat stretch, plank and bakasana to build strength and stability in the shoulders and work on your hip mobility too.

You can also check out my jump through workshops - in these we look at various approaches to each transition, progressing from basic options to more challenging variations.

You'll leave the workshop with an understanding of the techniques behind these movements and with some simple practices that you'll be able to take back to your mat and work with over time...if you stick with them I guarantee you'll be floating before you know it!

And if you have any other questions about these transitions, or would like to work on them in person - please do get in touch.

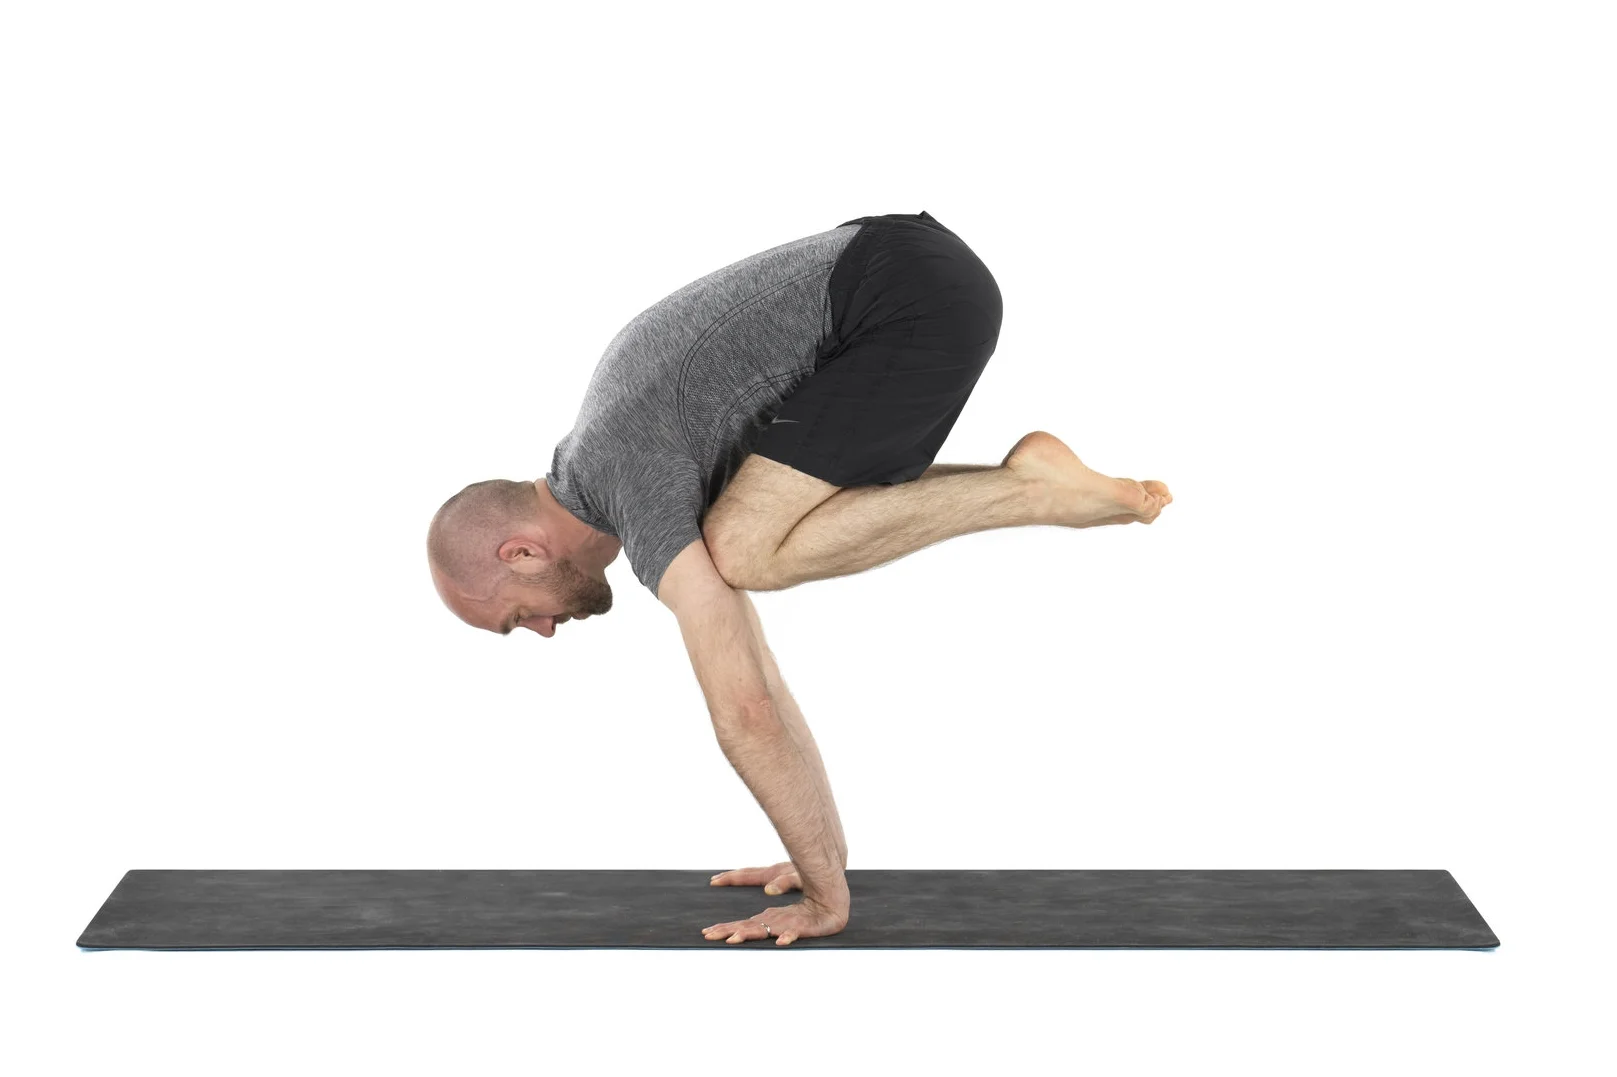
The jump through - hips high, arms long...and through we come

So what actually happens on yoga retreat (with me)?

“It isn’t at all untrue to say that being on retreat with Matt was genuinely a life changing experience for me. Being able to come away and connect with Matt’s yoga and meditation teaching, with nature, with delicious food and with a really genuine group of humans, was hugely meaningful. Tilton House is an incredible setting; warmth radiates equally from the log fires, the kitchen, and the host; and practicing in a yurt listening to the rain outside is really quite magical - you chose a great spot!”
— Retreat Participant, November 2018
Joining a yoga retreat is a wonderful opportunity to deepen your exploration of the practice...no matter what your previous level of experience

Joining a yoga retreat is a wonderful opportunity to deepen your exploration of the practice...no matter what your previous level of experience

Are you curious about joining your first yoga retreat but not sure what to expect? In which case, read on...

Joining a yoga retreat can be a truly precious gift to yourself - an opportunity to immerse yourself in a sustained period of practice and a way to deepen your understanding of yoga, no matter what your previous level of experience has been. 

But if you're newer to yoga and you've not been on retreat before then I'm conscious that it can perhaps seem a little daunting to take that first step. I well remember feeling the exact same way...

Will you be surrounded by elite level 'gymnast-yogis' with the teacher exhorting them to wrap themselves into ever more exotic contortions? Do you have to be able to do a handstand? Will you be hit with a stick if you inadvertently slouch during meditation?

The answer to all of these questions is a definitive no...at least not on my retreats!

My intention for running retreats is to leave all participants feeling more centred and grounded at the end of our time together...more connected to their practice, more connected to their bodies and breath. And perhaps more connected to a sense of inner stillness.

We will of course deep-dive into the postural aspects of the practice, but with the greater time afforded to us we'll also have time to explore pranayama (breathing techniques), meditation and other elements of practice.

There will be time for open discussion about different aspects of the practice (philosophy, anatomy etc.) and time too for relaxation...to read, write, sleep or explore the surrounding countryside as you see fit - an increasing rarity in this day and age. 

morocco-balcony.jpg

Another wonderful aspect of retreats is the opportunity to spend time in a transformative space with like minded yogis and to forge new friendships. Many people who I consider to be amongst my very best friends are people who I first met on a yoga retreat.

And at the risk of over-promising, it's amazing how taking time out to pause and find stillness often opens up the space for us to connect to our sense of creativity, vision and purpose. 

In fact it was whilst on retreat with one of my own teachers that I decided I wanted to spend my life teaching yoga and meditation to others...who knows what might open up for you?

Matt’s yoga retreat gave me the physical, mental and emotional space to practice yoga and explore meditation with ease and confidence.

A safe, warm and encouraging environment filled with friendly people
— Retreat Participant, July 2019

Working with our Inner Critic

This post was originally posted on my Instagram feed on World Mental Health Day. 

The demon Mara who tried to tempt the Buddha on the eve of his enlightenment

The demon Mara who tried to tempt the Buddha on the eve of his enlightenment

Mental health issues are something that most of us will struggle with to some degree in our lives and it's really positive that these issues are beginning to be spoken of more openly and honestly. 

For me a trigger can often be the mutterings of my inner critic - that voice telling me I'm not good enough, not this enough, not that enough...blah blah blah!

The above image is of the powerful demon Mara who tried to tempt and frighten the Buddha on the eve of his enlightenment in order to prevent him from attaining liberation. Mara can be considered to be a representation of this inner critic, this sense of self-doubt or lack - something that can attack at any time leaving us feeling depleted and dejected. 

Of course Mara failed - the Buddha saw Mara's efforts for what they were and made a physical gesture, touching the earth to steady himself, at which point Mara disappeared and the Buddha attained enlightenment. 

The guidance of one of my teachers, Martin Aylward, has been immensely valuable in helping me to work with these patterns of the mind. Helping me to see critical thoughts for what they are and thus loosening their power to limit or crush. And in the same way that the Buddha touched the earth, making a physical gesture when these thought patterns arise can sometimes help to stop them in their tracks. 

It's something I need to be constantly vigilant about...Mara is a sneaky ****er and occasionally it feels like he's got the upper hand. But finding respite from the power of the inner critic helps to open up a sense of ease and spaciousness with what is, a knowing that we are indeed enough just as we are. In Martin's words "When judgement ceases, there is unconditional space to be. Space for the love and ease, spaciousness and responsiveness that are the natural resting places of the liberated heart."

My Top 5 Tips For Mastering Hand Balances

Bakasana - crane pose

Bakasana - crane pose

Hand balances are hands down (sorry!) my favourite type of pose - for me they bring a wonderfully fun and playful quality to our yoga practice. 

They also invite us to undertake a curious exploration of our perceived boundaries, patterns and possibilities - fear, striving, exhilaration and frustration are all likely to arise at different points in the exploration…and all can be held with friendly awareness. 

In fact they're a significant reason as to why I fell in love with yoga practice in the first place - I loved the challenge that they presented, even though I was rarely able to hold the poses for long (if at all). 

Over the years of practicing yoga I have increasingly come to appreciate that hand balances are not simply (or even primarily) a question of strength. Of course a degree of strength is involved  - but the practice of balancing on our hands is really more a question of refined technique. 

So...to help you take your hand balance practice to the next level, I have outlined below 5 key principles for safely exploring these wonderful poses. 

1. Use your hands as feet

This might sound obvious…but it's critical that we build the foundations through our hands correctly (just as we set up the feet properly in standing poses) by activating 'hasta bandha' (hand lock or seal - also know as the ‘cambered hand’ position).

hasta bandha

Hasta bandha - or the cambered hand position - creates a strong foundation for hand balances

To do this spread your fingers wide with your index fingers pointing VERY SLIGHTLY away from centre and focus on actively rooting the hands down into the mat.

Most importantly ensure that there’s a strong connection into the earth through the undersides of the knuckles - and that the weight isn’t sinking into the heels of the hands and wrists.

Once the hands are set, squeeze the floor with your fingertips to create a subtle 'cupping' action of the centre of the palm.

Setting the hands up in this way helps to provide a much greater sense of stability and foundation in hand balances - it also helps to avoid injuries that can be caused by weight collapsing into your wrists.

2. Stabilise the shoulders

Our shoulders are built primarily for mobility rather than for stability - in fact they are the most mobile joints in our bodies.  

So in order to safely engage our shoulders during hand balance practice we have create as much stability as we can through these joints.

We do this by ensuring that the head of the upper arm bone (the humerus) is properly 'plugged into' the shoulder socket by rolling your inner bicep forward and the outer arm back (external rotation)…so that the 'eye' of your elbow is in line with your thumb. 

Additionally, broaden and flatten your shoulder blades across the back and draw them forward so that they don't wing upwards and away from the body - this can strain the muscles of the rotator cuff surrounding the shoulder joint (causing further instability). 

3. Hug your elbows to your centre line

When you bend your elbows, hug them in towards your mid line so that your forearms are parallel to one another rather than bending your elbows out sideways either side of the body. 

Again this helps to stabilise your shoulders and it also creates a strong skeletal structure upon which we can 'stack' the rest of body in some hand balance poses - reducing the amount of muscular effort we need to invest.

4. Use your whole body

You will never knowingly underwork in a hand balance - so if you’re struggling then pushing harder is rarely the answer. 

Instead you have to understand the relationship between each part of the body and how these work together in combination to take a particular posture.  

Plank pose

Plank pose

Think about a simple plank pose (a foundational pose for all hand balances) - in order to hold your plank you need to activate muscles throughout the entire chain of the body to avoid collapsing towards the floor. 

We can apply similar principles to more challenging arm balances. 

For example in Bakasana (pictured at the top of this post) we need to activate our hip flexors to draw the knees in towards the body and the adductors to hug the knees against the upper outer arms. 

Without understanding how to access and activate these muscles, the pose is simply not possible. 

5. Don’t cheat the process 

I know how tempting it is to want to ‘get the pose’ - I often fall into that trap myself. 

But when approaching hand balance poses we really need exercise patience and be prepared to spend time working on foundational movements that help us to build towards the particular posture that we’re looking to take.

This will help us to approach our exploration safely - building strength and technique without the risk of injury. 

Cat pose

Cat pose

Again, thinking of Bakasana…you can see from the above picture that the position of my spine is not too dissimilar from a basic cat stretch.

So spend lots of time in cat pose actively pressing down through the hands to slightly round the spine and feel a sense of the front body ‘lifting’ towards the back body. 

And then when it comes to actually practising Bakasana, be prepared to start with the elbows bent and with the tips of the toes still resting on the floor.

From there, and over time, you can explore raising one foot at a time (maybe with the forehead resting against a wall for more support) to build the strength required to eventually take the second foot up as well.

But do make sure that you’ve really mastered each stage on the journey before progressing to the next. 

Ok, so that’s it…my Top 5 hand balance tips. I hope you’ll find them useful. 

As I mentioned at the start of this post I love hand balances for the playful quality they can bring to our yoga practice. 

Embrace this playfulness and use the above tips to safely approach your exploration of these wonderful poses - it might take a little while to get the hang of some of them but with persistence, they'll come.

And if you have any further questions or would like to work with these poses on a one to one basis then please do get in touch.